AOAP 2022 Administration
Contents
Introduction:
Amrita Online Admission Portal for 2022 is designed to make the acclaimed amrita admission process easy.
This document is made to help the persevered admissions team to configure the portal depending on the requirement.
In this document, few modules which may be already configured or need to configure only one time. Certain modules you may need to do each term like configuring admission programs.
Getting Started:
To access AOAP 2022
Open an internet browser (Recommended to use Google Chrome)
Type https://my-test.amrita.ac.in/cap_pg/index/ and click enter
Login with admin credentials
Basic Configurations:
Add New Campus:
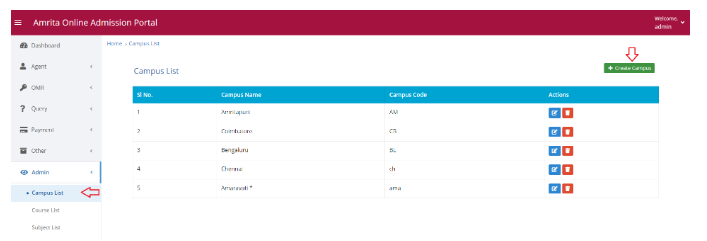
This page displays the list of campuses. Here you can add new campus to this application. To add new campus -
Go to Campus List under Admin in left menu.
Click Create Campus
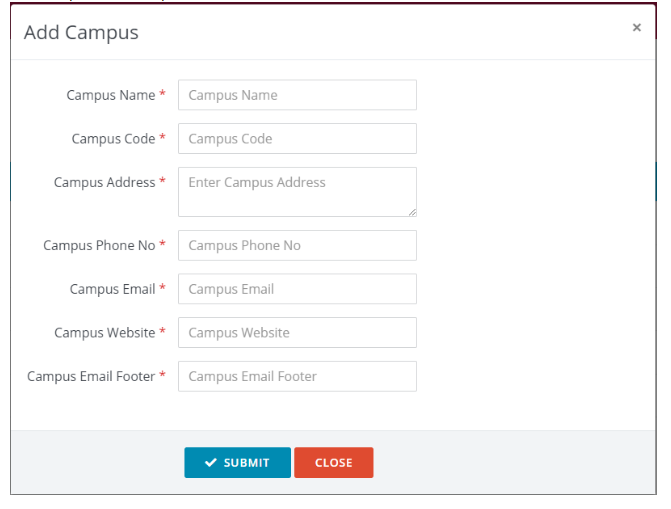
Add campus window opens. Fill all details and click submit.
Add New Course:
This page displays the list of courses. Here you can add new course to this application. To add new course -
Go to Course List under Admin in left menu.
Click Create Course button.

3. Add course name and select group. Click Submit.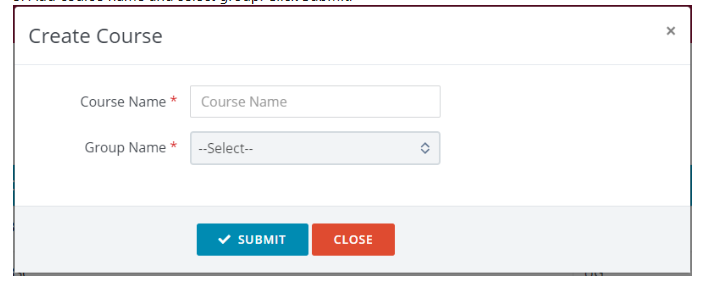
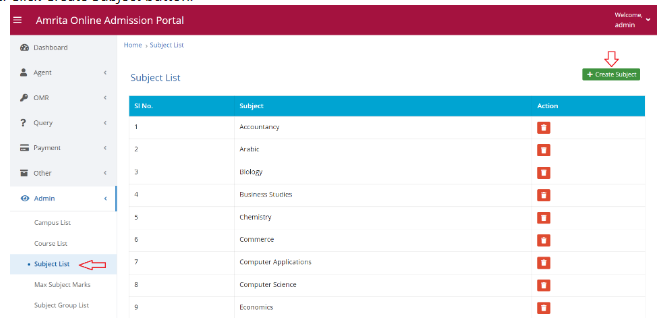
Add New Subjects:
This page displays the list of subjects. Here you can add new subject to this application. To add new subjects -
Go to Subject List under Admin in left menu.
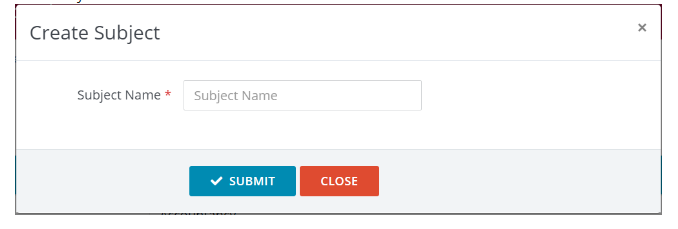
Click Create Subject button.
Enter Subject name and click submit button.
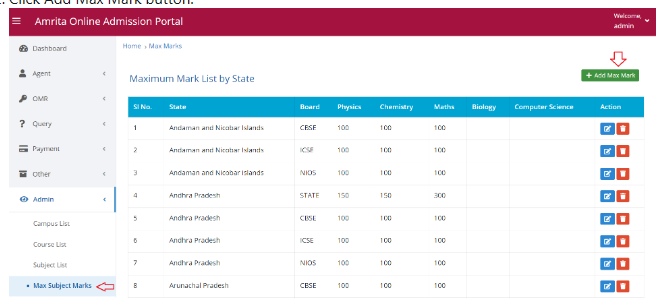
Add Max Subject Mark:
Here you can define maximum marks for the subjects based on states and boards. To add a new set of marks-
Go to Max Subject Mark under Admin in left menu.
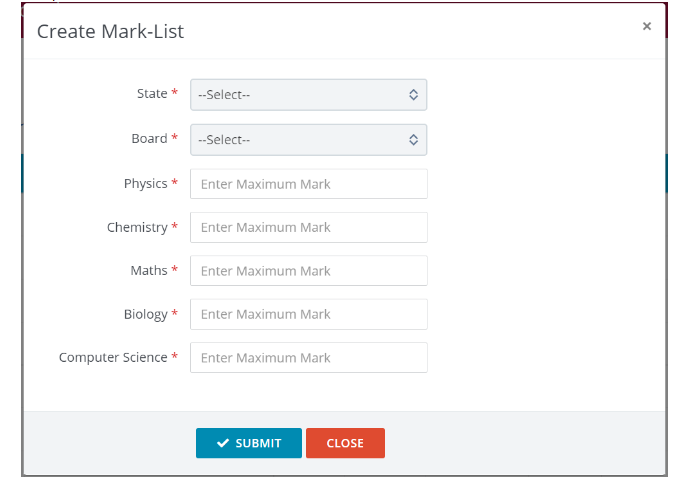
Click Add Max Mark button.
Fill up details and click submit button.
Subject Group List:
Here you can group a set of subjects. To do this
Go to Subject Group List under Admin in left menu.
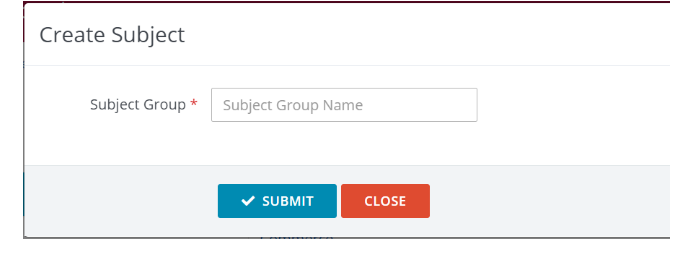
Click Create subject group button.
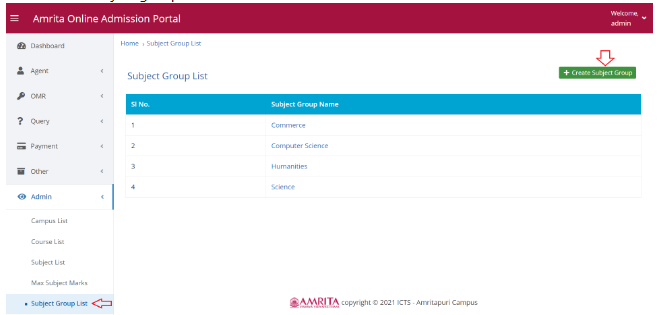
Enter Subject group name and click submit.
Add Graduation:
This page displays the list of graduation stream in this application. This graduation stream is to be mapped with the Application Programs in later stage. Based on this Graduation stream, the candidate will get program choices in the login page to register. To add a new Graduation -
Go to Graduation under Admin in left menu.
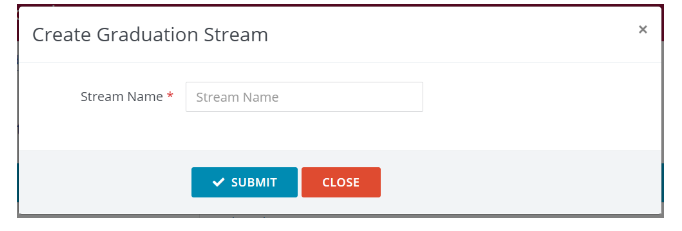
Click Create graduation stream button.
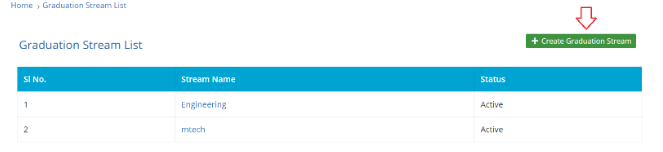
Enter Stream name and click submit button.
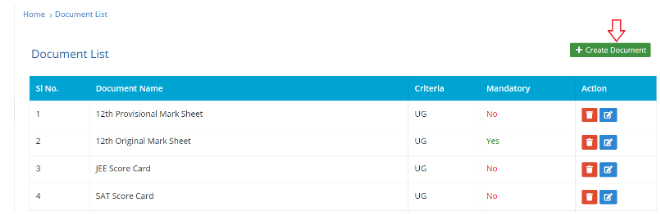
Create Document:
This is the page where you need to define which all documents are required for applying the admission program. To create a new document type -
Go to Documents under Admin in left menu.
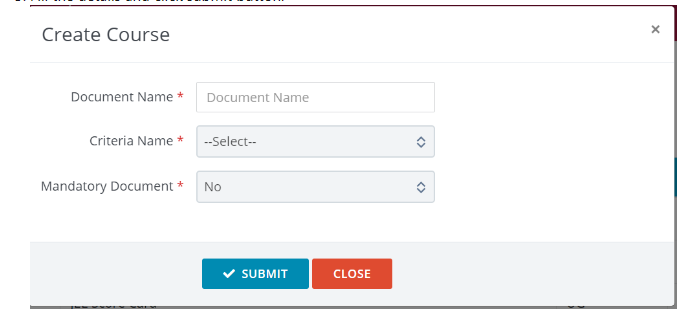
Click Create Document button.
Fill the details and click submit button.
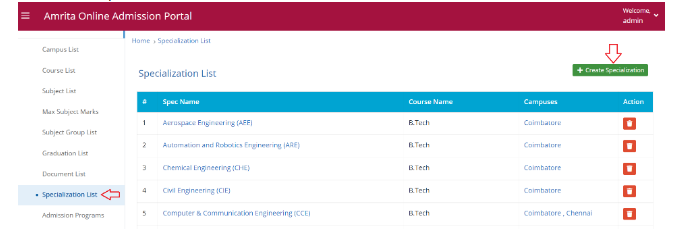
Add Specialization:
Certain programs will have specializations. To define these specializations -
Go to Specialization under Admin in left menu.
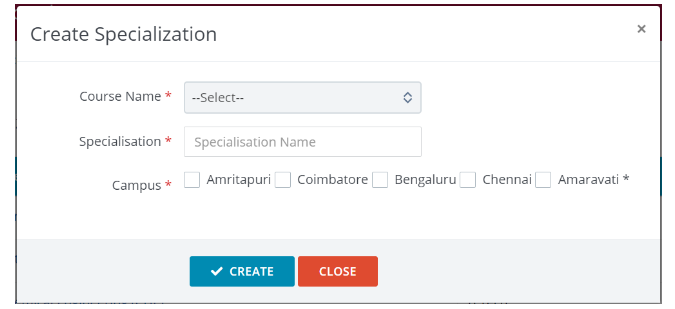
Click Create Specialization button.
Fill the details and click submit button.
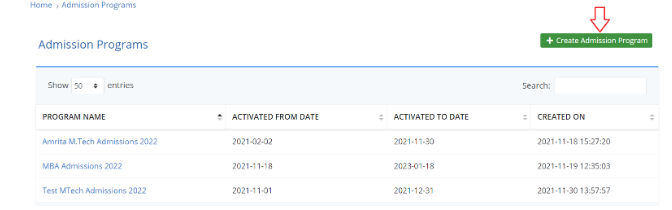
Configure New Admission Program:
This is an important step where you need to define the new admission program.
Go to Admission Program under Admin in left menu.
Click Create Admission Program button.
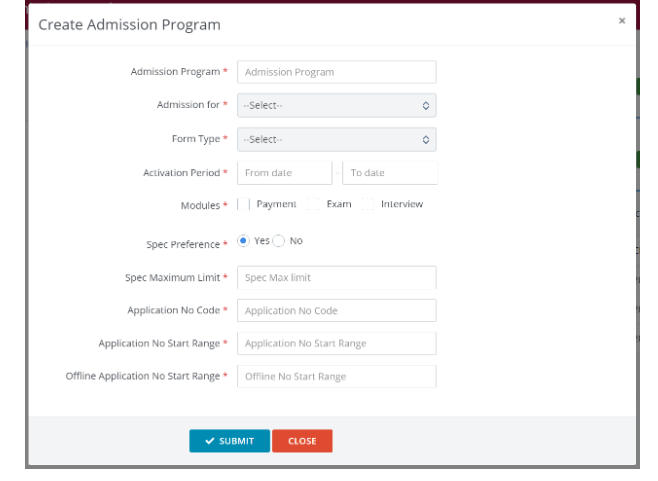
Fill the below details and click submit button.
Enter Admission program name.
Select for which the Admission is for.
Select the Form Type.
Select the Activation period - from and to date.
Select which modules are required - Payment, Exam, Interview. These modules will appear to setup only if they are selected here.
Specify whether Specialization Preference is required or not.
If Yes, mention the Specialization maximum limit.
Mention the Application Number code.
Mention the Application Number Start Range.
Mention the Offline application number start Range.
1. Configure:
Once the new admission program is created, click on the newly created program name from list.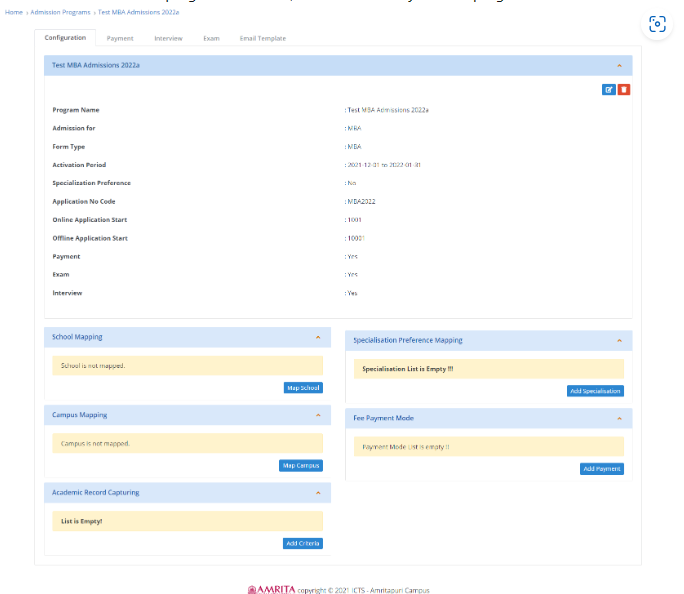
Configuration page opens where you need to do -
School Mapping:
This defines which all schools to be made available for this program.
Click Map School Button. Select the school name from drop down. Click Save button.
You can add multiple schools one by one by clicking Map School button.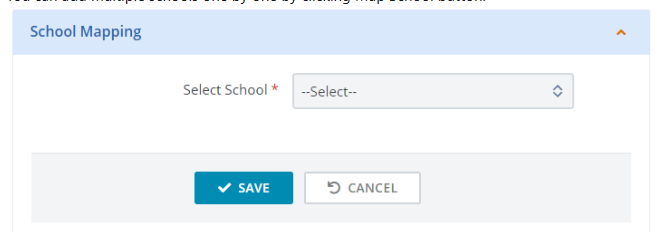
Campus Mapping:
This defines schools under which campuses to be made available for this program.
Click Map Campus Button. Select the campus name from drop-down. Click Save button.
You can add multiple campuses one by one by clicking Map Campus button.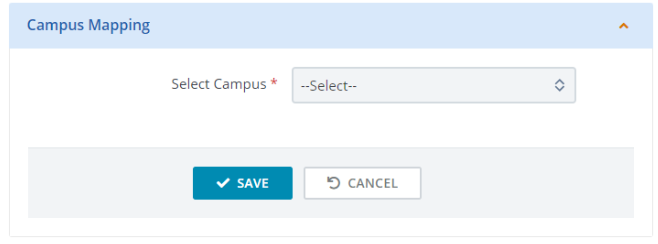
Academic Record Capturing:
This defines the criteria or minimum requirement for this program.
Click Add Criteria button.
Select Education level required for this program. Enter Criteria which is required for this program.
Choose whether this is criteria is mandatory or not. Click Save button.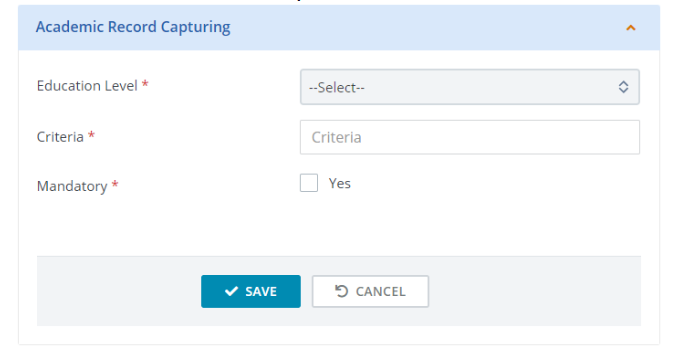
Specialization Preference Mapping:
This defines the specializations available under this program.
Click Add specialization button.
Select Specialization from drop-down. Click Save.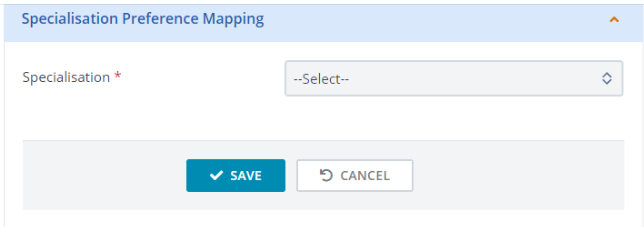
Fee payment Mode (Not mandatory):
This defines how the fee payments are to be done.
Click Add Payment button. Enter Payment Type and Payment Amount. Click Save.
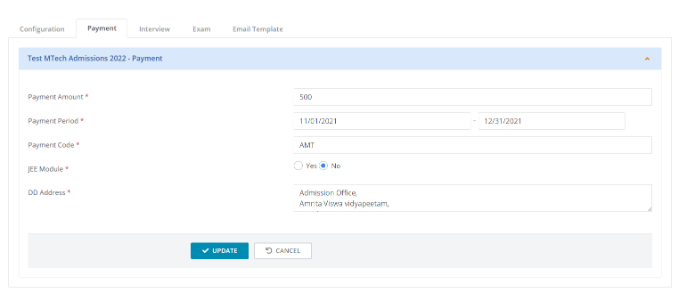
2. Payment:
Here the payment amount, payment period, payment code, DD address details are to be added.
3. Interview:
This tab appears only if you have selected Interview while configuring the program.
Here you need to add the Interview date, time, location details.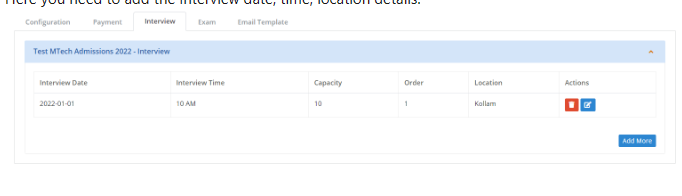
4. Exam:
This tab appears only if you have selected Exam while configuring the program.
Here you need to mention the exam location details.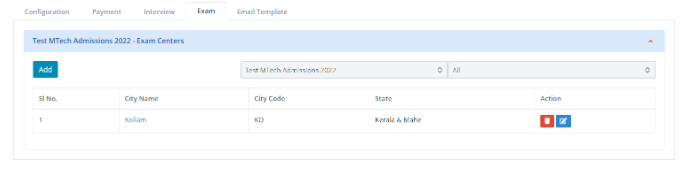
5. Email Template:
This tab appears only if you have selected Exam while configuring the program.
Here you can add the email templates which will be used to send automatically to the applicant.
You can create your own html templates and add them here using code view option in the toolbar.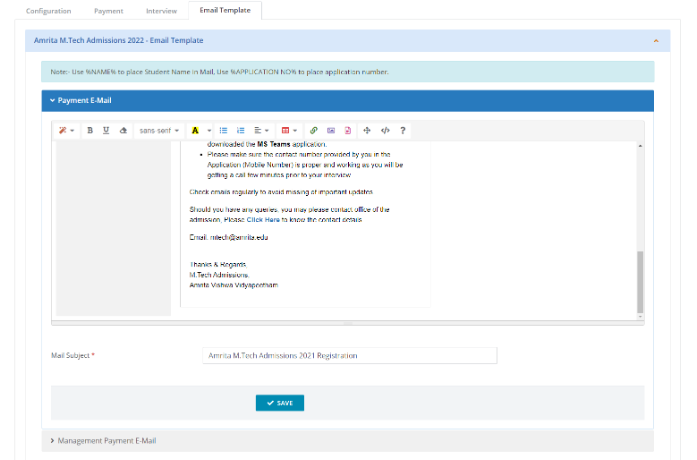
How to list the Admission program in Login page ?
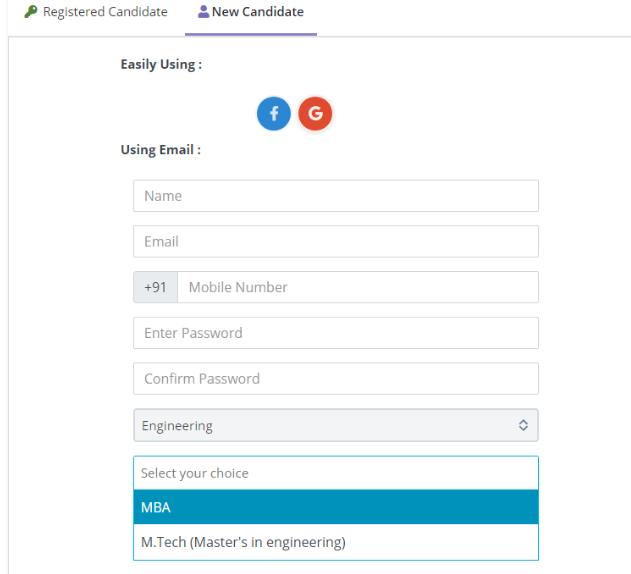
Once after you configure the Admissions Program, go to Graduation List under admin.
Click on the Stream Name

Click Add More button under Program Name.

Select a program name from drop-down and click save.
